Download
Download the installer for FileZilla server, also FileZilla client, from Sourceforge.
Preparation
Check and make sure that your ISP has not blocked port 21. You have to set up a passive FTP server if that port is blocked. Then forward port 21 (or the alternative port) to the private IP of your FileZilla server.
If you are having a dynamic public IP, make sure you have your dynamic DNS client running. (This is assumed done.)
Installation
Launch the installer.
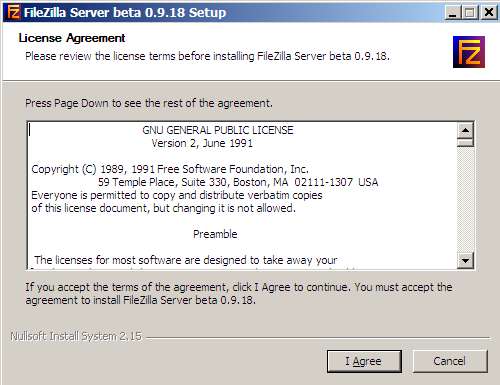
Read and accept the GNU license.
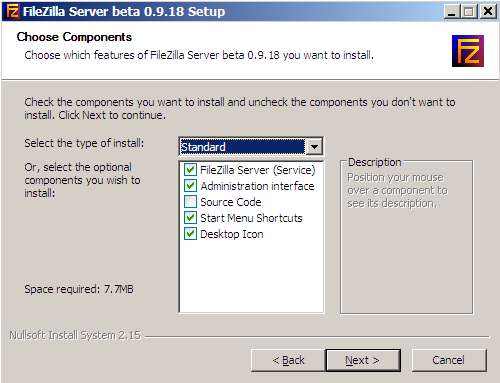
You can safely accept the default package. If not, change the settings. Yes, you can install the source codes if you had downloaded those from Sourceforge.
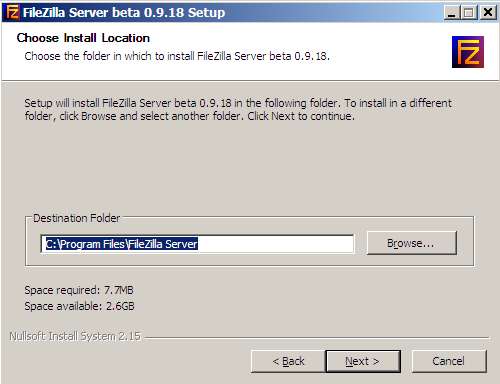
Accept the default installation directory or change it.
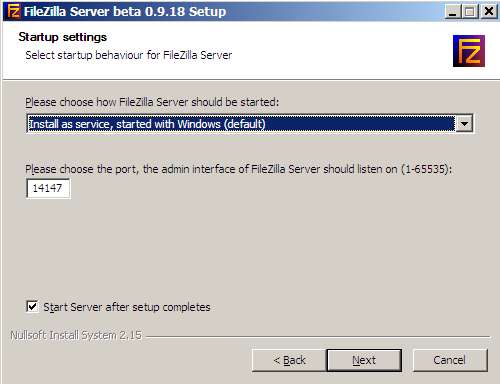
Accept the default "Run as a service..."
Accept the default port for admin interface as well.
Uncheck (tick) "Start server..." if you do not want the server to launch right away.
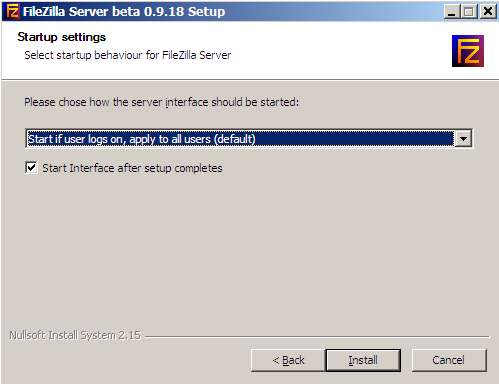
Accept the default setting of "Start if user logs on..."
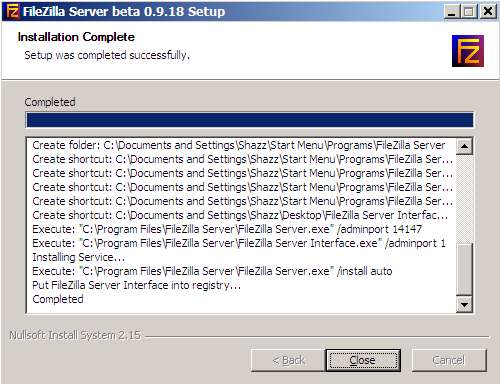
Installation is complete.
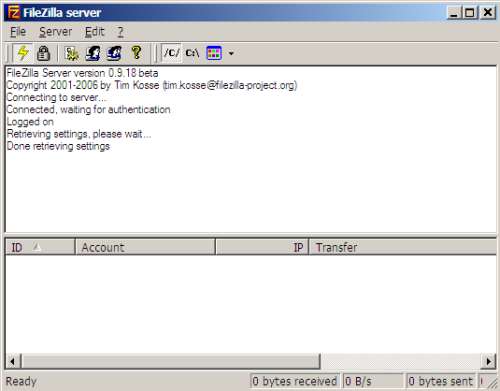
FileZilla server has started, log in by clicking OK. You can set the password later if desired.
The server is up and running.
You should see an icon in Systray now.
Configuration
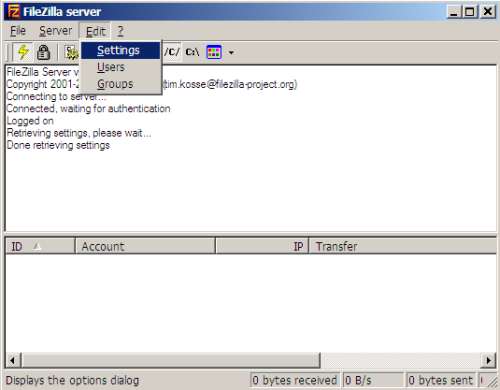
Click Settings on the Edit menu if you want to fine tune your server, like setting the password for the admin interface.
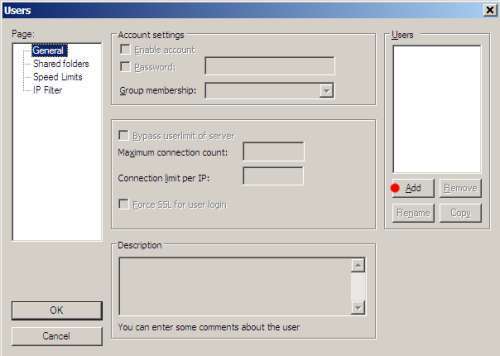
Adding users
Select Users from Edit menu.
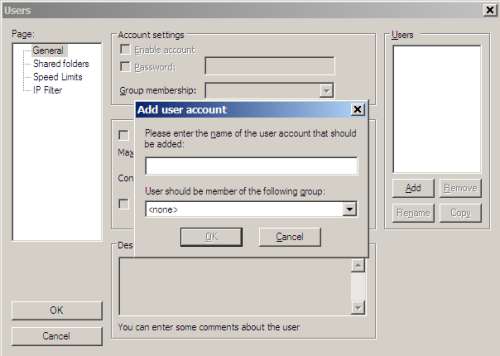
Click Add at the bottom of Users pane
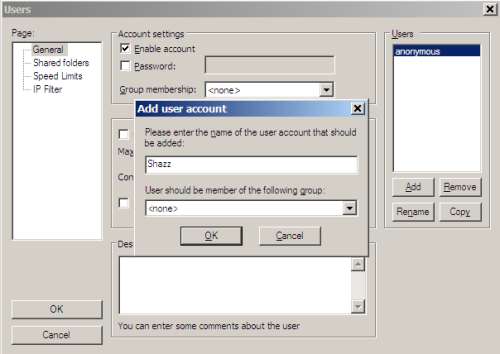
Key in the name of a user, e.g. anonymous (recommended).
Click OK to add the user.
Make yourself a user (guide example: myname).
Highlight your account and check (tick) Password. Key in your password.
Anonymous users
Get this right the first time! Never allow anonymous upload.
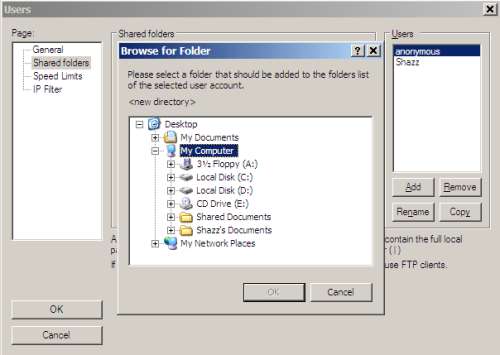
Highlight the user anonymous and Shared folders on the left pane, click Add in the Shared folder pane to bring up the file browser.
Select a folder from which you want everybody to download. Note that the folder will be marked with a letter H (short for Home). Users with anonymous permissions will be logging in to that folder, hence the term "lock users to home directory".
Accept the default read-only permission for anonymous users.
Non-anonymous or logged users:
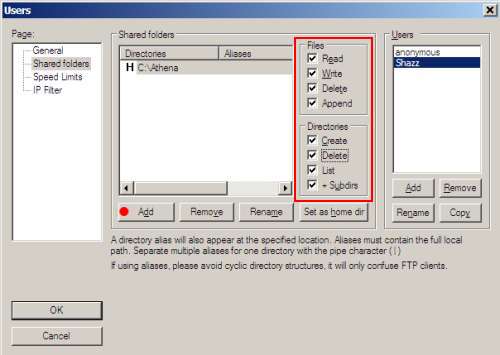
Now give yourself more generous permissions. The example set is marked with a red rectangle. Note that the example is a set of administrative rights.
Testing
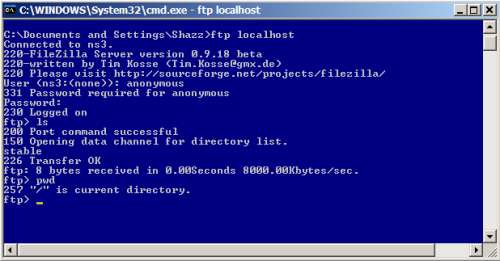
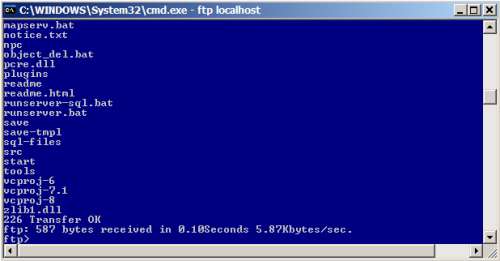
The image shows an anonymous test session. Note that the user anonymous with a blank password (or any email) is acceptable to all FTP servers.
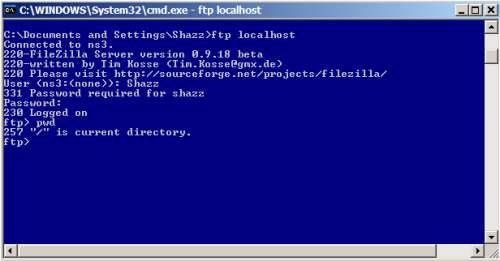
This is a non-anonymous test session.
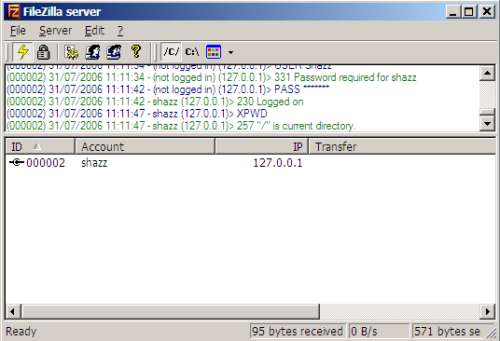
A confirmation of successful log in as registered on the FileZilla server console. Note the logged user.
Further confirmation from the client side. Note the listing of files in the Athena directory to which access was allowed.
At this point, the FileZilla server is operational.
Repeat the tests from another local net workstation and the internet. If successful, you have an internet-ready FTP server.
About downloads
When you allow internet access, e.g. for others to download your Athena client, you should tighten security. Also note that high volume of access traffics can affect the performance of Athena sharing the same internet connection.
|