Download
By now, you should have downloaded the installer from Sourceforge.
Installation
- Click the installer, accepting default settings and you have a speedy FTP client. You will be wondering how you lived with Internet Explorer.
- Launch FileZilla. When prompted, accept default security settings or choose the alternative strict settings. You are now ready to see a speed demon in action.
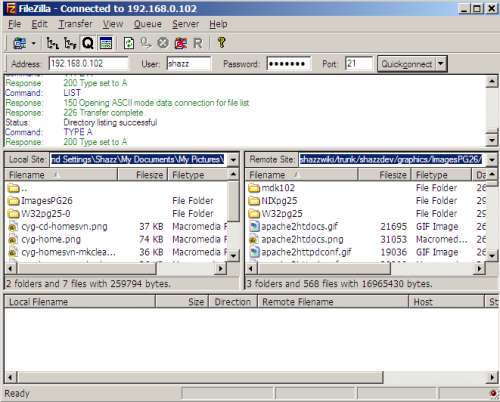
Testing FileZilla:
FileZilla server should have been installed before you do this test.
Key in localhost as server name
Log in as anonymous user (leave name and password blank)
- click Quick Connect
- you should see files in C:\pub
- if FileZilla hangs, it is because there is no file in C:\pub.
Log in as myname
- key in myname as username, mypass as password
- click Quick Connect
- you should see all partitions or folders you had allowed
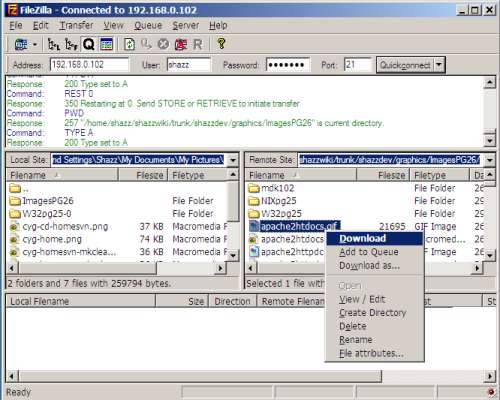
Downloading
Go to Remote Site pane and browse for the file or folder which you want to download
Select (highlight) the file or folder (Use ctrl-click for multiple selections)
Right click highlighted selection, select Download
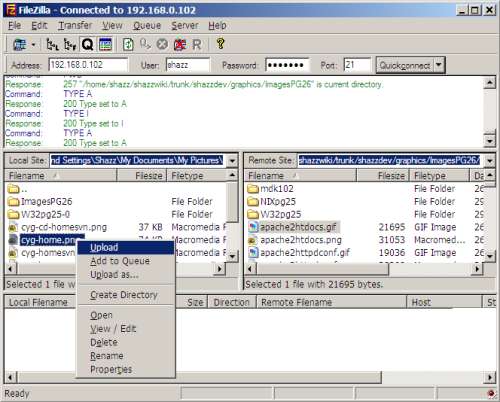
Uploading
Go to Local Site pane and browse for the file or folder which you want to upload
Select (highlight) the file or folder (Use ctrl-click for multiple selections)
Right click highlighted selection, select Upload
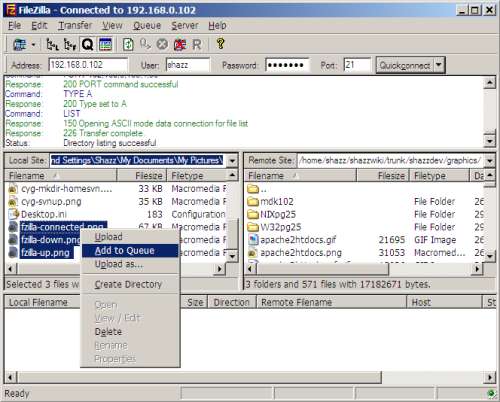
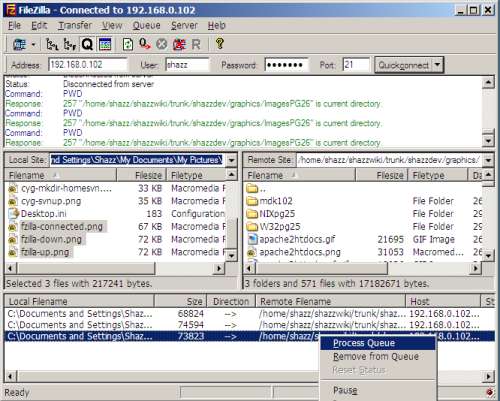
Queue up!
Go to Local Site pane and browse for the file or folder which you want to upload.
Select (highlight) the file or folder (Use ctrl-click for multiple selections).
Right click highlighted selection, select Add to Queue.
Go to bottom pane (which normally display file processing status).
Right click and select Process Queue.
Although the example shown is for uploading, you can apply the same technique to downloading.
|
|