Just another name?
As the name implies, virtual servers are not physical (real) servers. The term is used to refer to the assignment of a port to a server so that the router knows how to redirect network signals. Accordingly, setting up virtual servers is close to saying forwarding ports.
Assigned ports
There is nothing to stop a host from assigning any port to any server. However, you should do it with care. The computing community, through IANA (Internet Assigned Numbers Authority) has adopted a standard to take the headache away from application authors. As a result many ports numbered below 1024 (stateful or low ports) have been assigned. Examples of some well known ports and the corresponding server (assigned by IANA) are:
-
| Port | Protocol | Server |
|---|
| 80 | TCP | HTTP |
| 21 | TCP | FTP |
| 25 | TCP | SMTP |
| 110 | TCP | POP |
| 143 | TCP | IMAP |
| 3306 | TCP | MYSQL |
| 389 | TCP | LDAP |
Unassigned ports
Most ports in the "high" (stateless) range are not assigned. This is where users can do their own assignments. Of course, we know these:
-
| Port | Protocol | Server |
|---|
| 6900 | TCP | login |
| 6121 | TCP | char |
| 5121 | TCP | map |
How to set up virtual servers?
As in port forwarding, the dependence on hardware makes difficult for someone to tell you how to configure your router. Even the same model may differ. An understanding of routing will help. The basic line (rule) is:
|
allow source [public IP] [port] destination [private IP] [port] protocol
|
A real world example
This guide is based on DLink DI-704 router (with print server). Although proven, you should not assume that this guide will work even if you have the same model.
Log in
Launch browser
Log in to http://192.168.0.1, the factory-set IP.
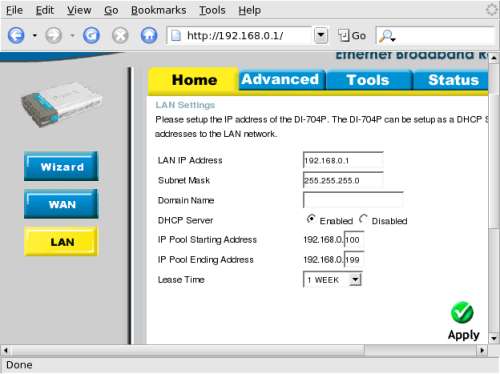
LAN setup
Click LAN
(Optional) Change the IP of your router.
Enable DHCP server
(Optional) Set DHCP IP range
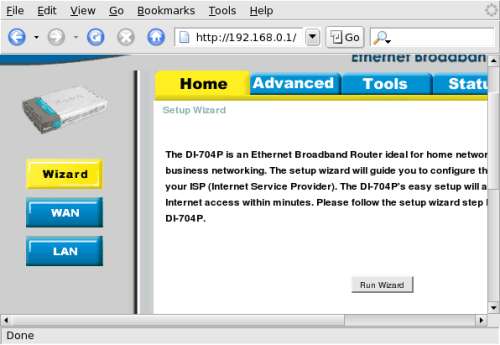
Wizard setup
Use the Wizard to help you configure your internet account if desired, or
Click WAN.
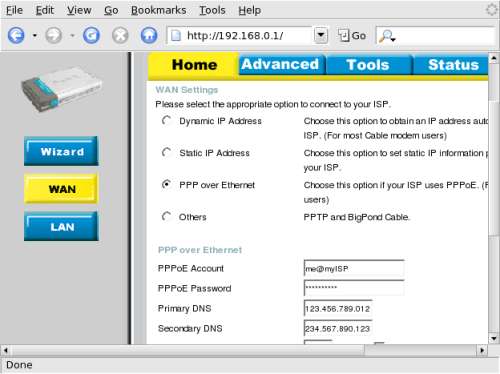
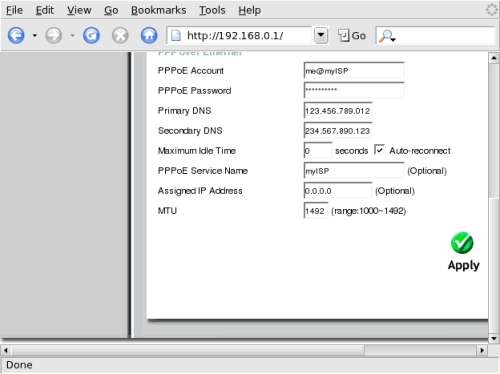
Configure internet
Select PPP over Ethernet (PPPoE).
Key in details of your internet account.
Scroll down.
Key in IPs of your nameservers (Primary and Secondary DNS).
Leave those options marked Optional blank
Click Apply.
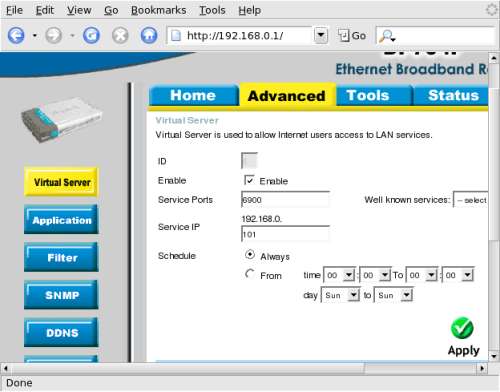
Virtual servers
Select Advanced, followed by Virtual Servers.
Select Enable and Always.
Key in port number (Do not use port range)
Key in Athena host IP
Click Apply
Repeat until all desired virtual servers have been created (i.e. all desired ports have been forwarded)
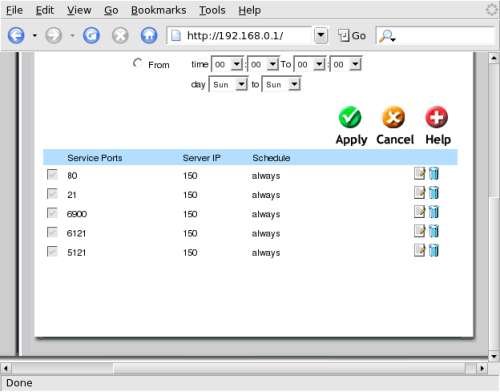
Scroll down to see the list of virtual servers.
Make sure all virtual servers are enabled (note the tick on the left side).
If not, click Edit and select Enable.
Port trigger
Click Application to see the Port Trigger page.
Do not turn on unless you know what you are doing.
Dynamic DNS client
Click DDNS
If you have a DynDNS account, configure IP update here.
Key in all details of your account.
Click Apply.
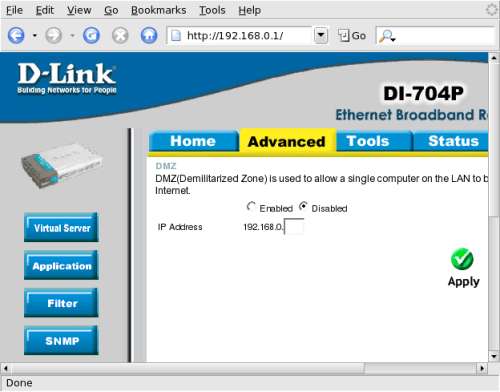
Demilitarised zone
Click DMZ
Do not enable unless you know what you are doing.
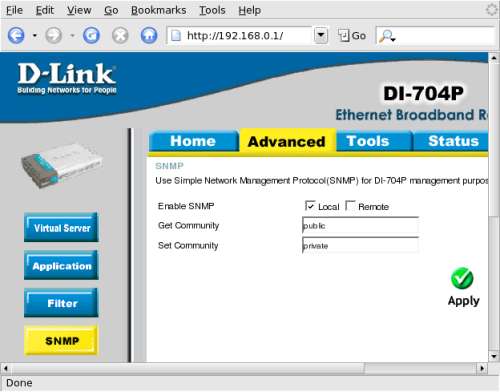
SNMP
Click SNMP
Leave it at default
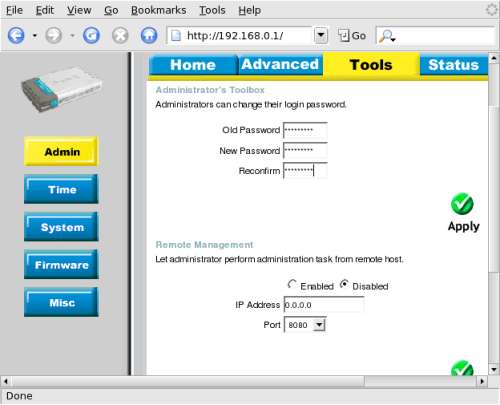
Administration
Click Tools
Change the default password if you have not done so
Scroll down for the Remote Management option. Do not turn on unless you know what you are doing.
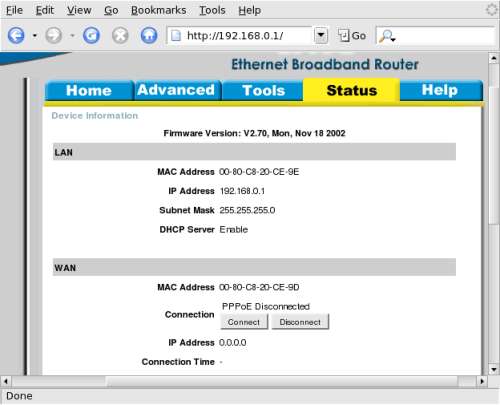
Router status
Click Status
Nothing to do here
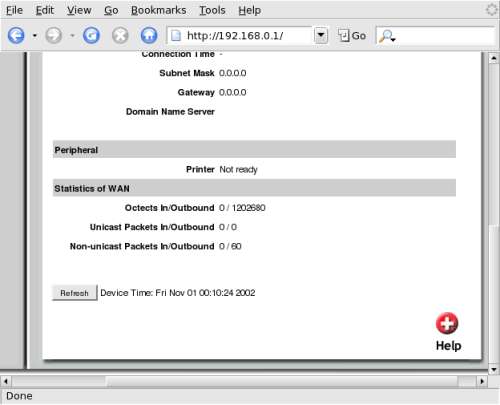
More of the Status page
|