Register for an account:
You should already have an account with NoIP before you begin. If you have not registered yet, it is just as fine. Visit NoIP and register an account now. You might have to wait until your account is activated before you can set up a host record.
Creating host (A) record:
Log in to NoIP
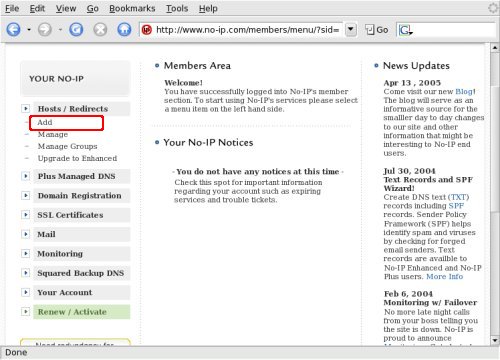
You are logged into the Member Area
Select Add under Hosts/Redirects heading
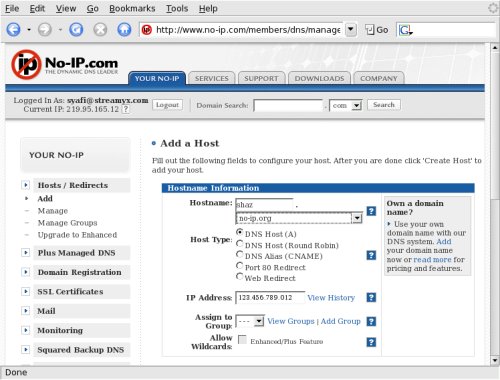
Make sure DNS Host (A) is selected (ticked).
Key in details as required. The name of your Athena host and its current IP will suffice.
Leave Wildcat alone (do not select). Scroll down.
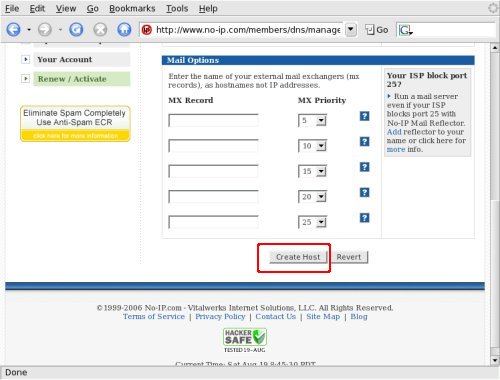
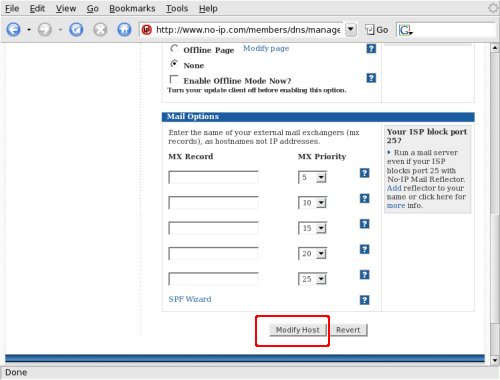
You may skip Mail Options.
Finally click Create Host.
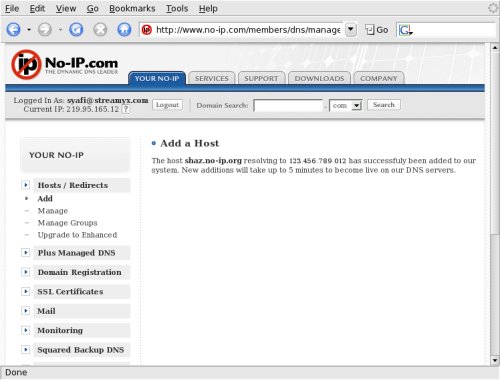
Your host record is done.
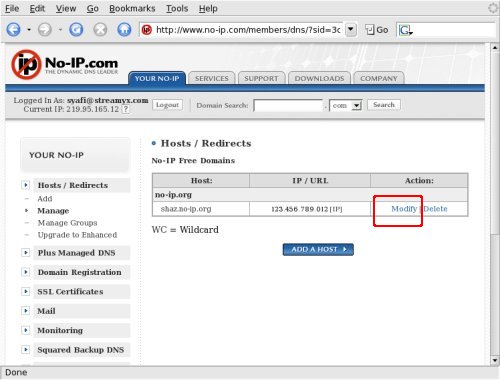
Updating host record
Log in to Member Area. Click Manage link.
When your host record appears, click Modify.
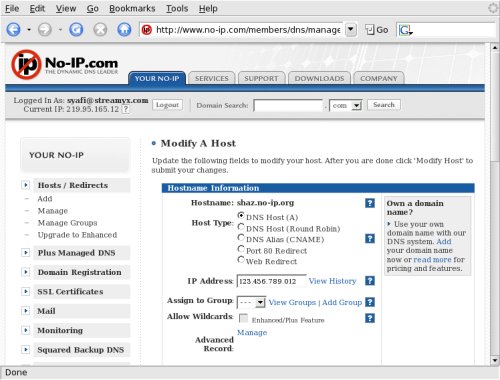
The Modify Host pane is similar to Add Host.
Key in your new IP if that is what you wanted to modify.
Scroll down and click Modify Host to finish.
|