Register for an account:
You should already have an account with DynDNS before you begin. If you have not registered yet, it is just as fine. Visit DynDNS and register an account now. You might have to wait until your account is activated before you can create host record. (Note: URL at the time of this revision appears to be http://www.dyndns.com. The coded URL still works though.)
Creating host (A) record:
Log in to DynDNS (Note the SSL connection)
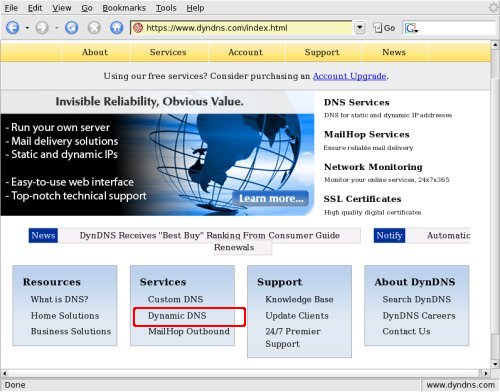
Select DNS Services
Select Dynamic DNS.
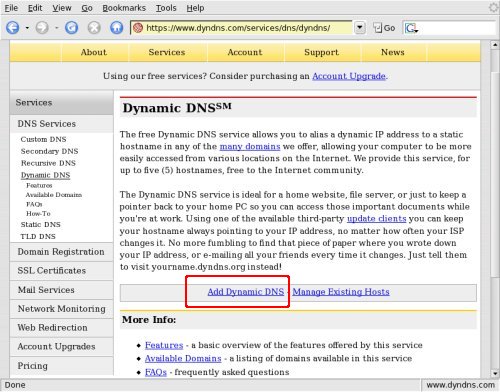
Select Add Dynamic DNS.
Select a top-level domain from the drop-down menu
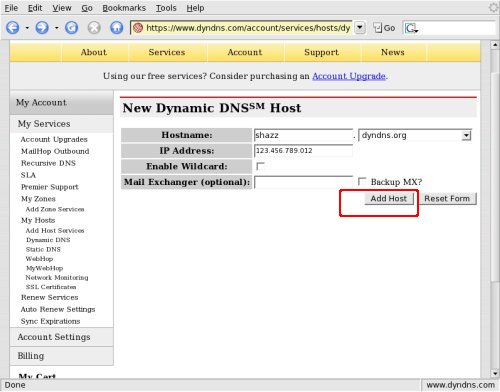
Key in details as required. Those are nothing more that the name of your host and its current public IP which you can obtained by logging to http://www.whatismyip.com/ or http://www.ipchicken.com/.
You may leave Enable wildcat and Mail Exchanger untouched.
Finally click Add Host.
An example of host record (Note that host records are also known as A records):
Take note that the IP is fictitious. Actual IP has been removed for personal reason.
Manual update
Log in to DynDNS
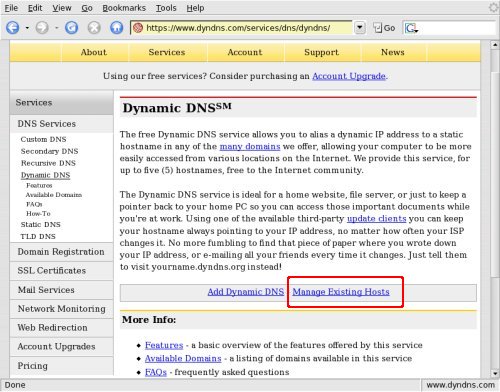
Select Dynamic DNS
Select Manage Existing Host
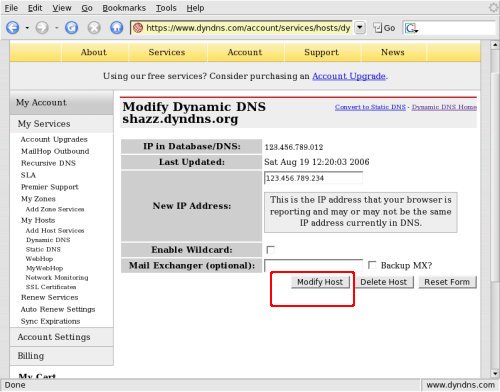
You will see your host with its "old" IP, as shown
Click Details
Key in your new IP in New IP Address box. Note that this is a demonstration account. No testing was actually done. You might see your "old" IP at the top and the new IP already shown in the box.
Click Modify Host
|